
Section 6-3: Final Drilling Completed on Vertical Stabilizer
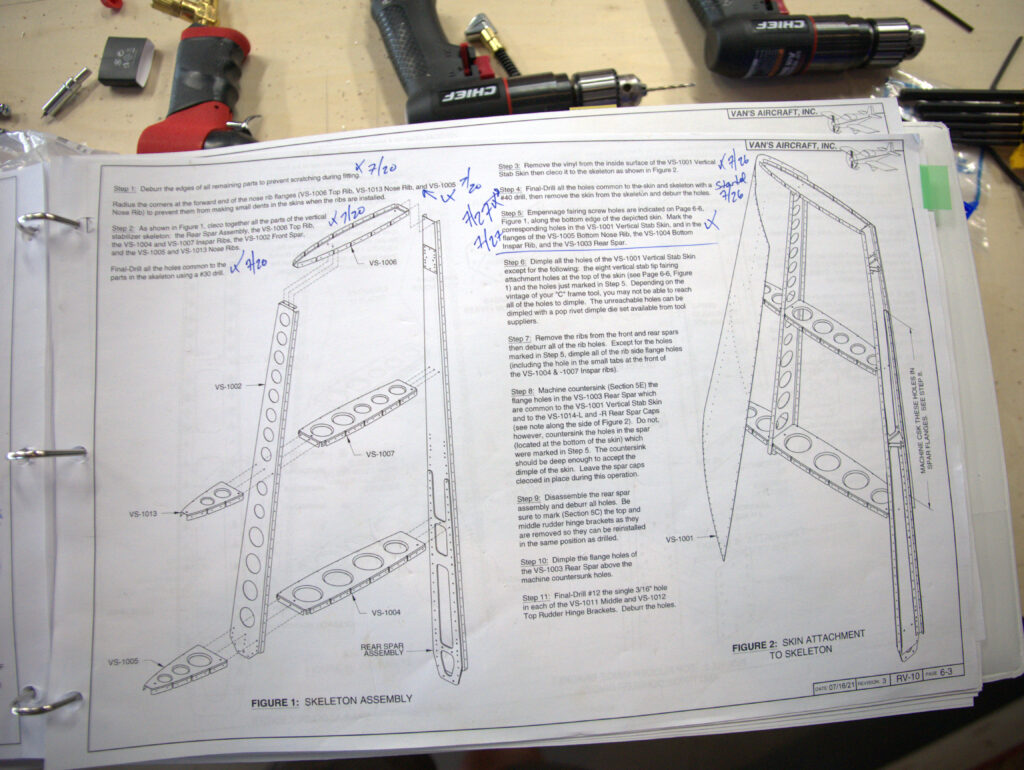
Work is progressing on the vertical stabilizer. I completed the final drilling step along with step 5 for marking the faring screw holes so that they don’t get dimpled or riveted.
I’ve watched some videos on YT where the builder used tape to mark the holes. I think I should have done this instead. I am finding that my work methods are improving quickly but I need to spend more time preparing for the tasks that I will be doing in advance.
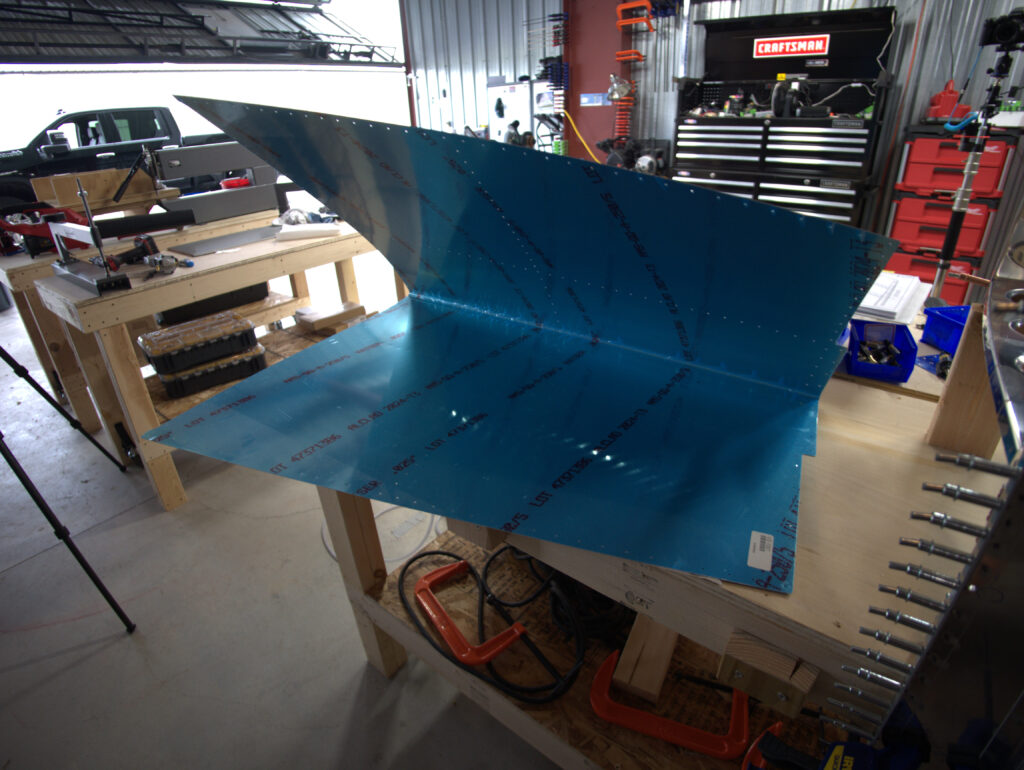
Another lesson learned is that the skin can go on going from one side to another. I was under the impression that it had to be stretched. I plan to try this before I start the riveting step. Speaking of next steps. My next step is to start dimpling the skin (VS-1001) and then dimple the skeleton. Once dimpled, I will disassemble and prime the parts before I reassemble them and then rivet.
I am taking a few days off to celebrate a very important wedding in my family. My son is getting married on August 2nd in Cazenovia, NY. His bride is a lovely person, whom we have known since they met in college at LeMoyne University. I believe they met their freshman year but it might be in their sophomore year when they met.
Once the wedding is over I have to get ready to receive the Fuselog kit that Van’s shipped out about a week ago. I will try to take pictures and possibly some video. I have the Empennage, Wing, and Finish kits already. I also purchased the extended wing kit from Sky Designs. I have not received the engine, prop, or avionics yet.
Section 6-3: Skin on VS Skeleton
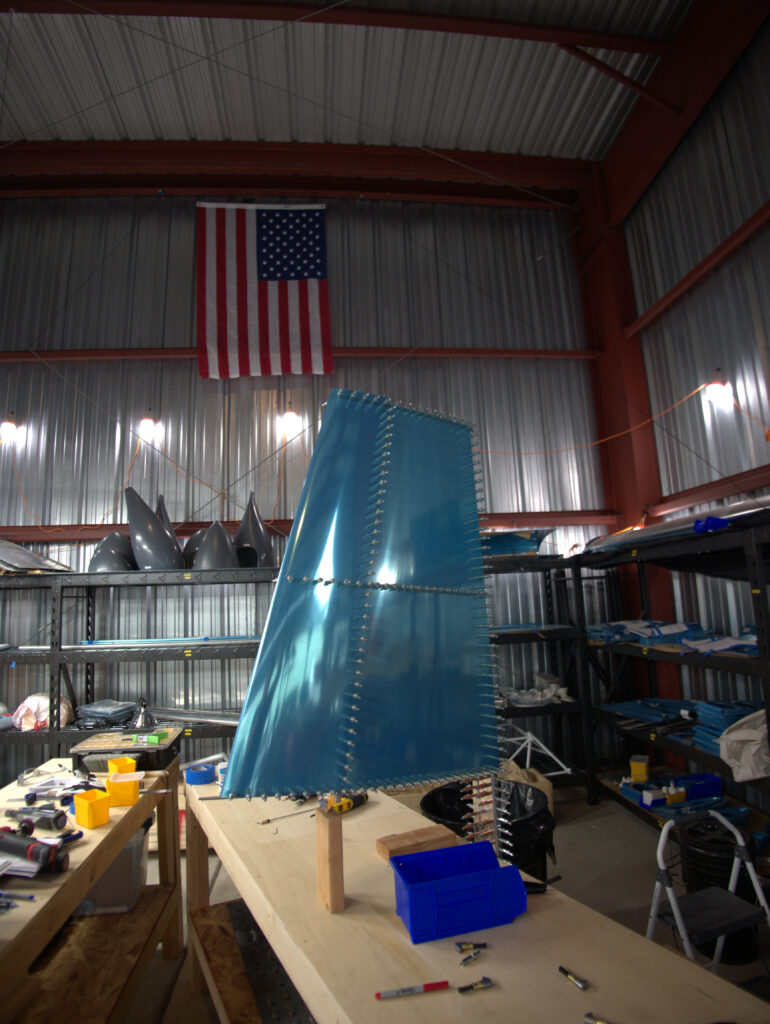
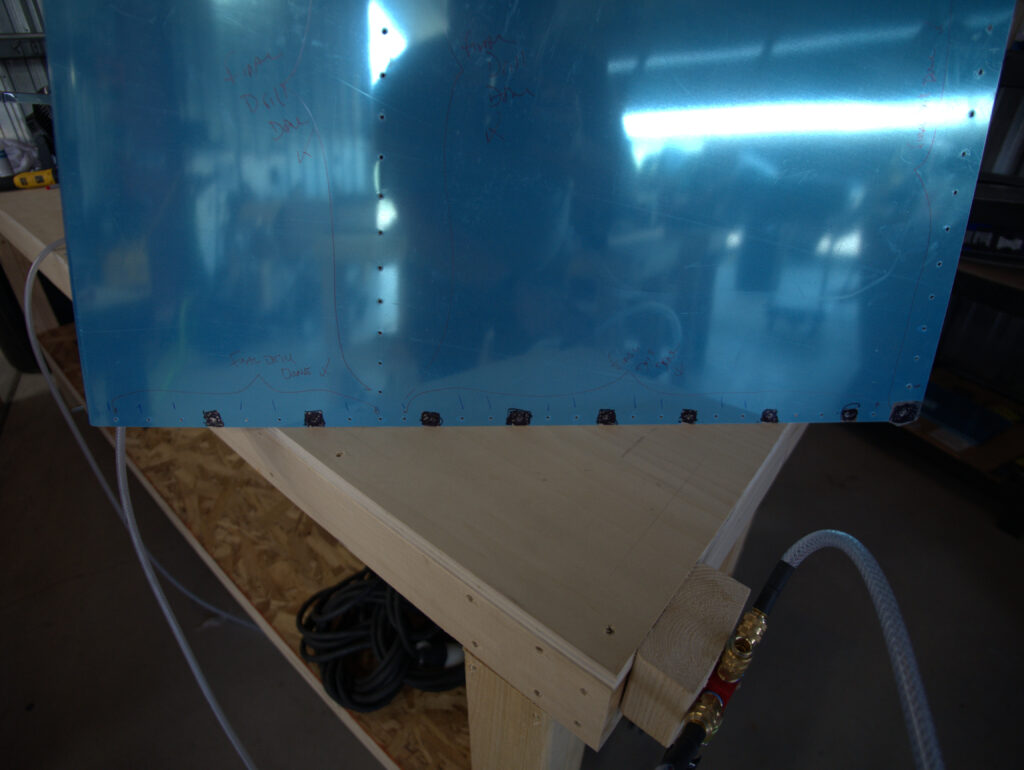
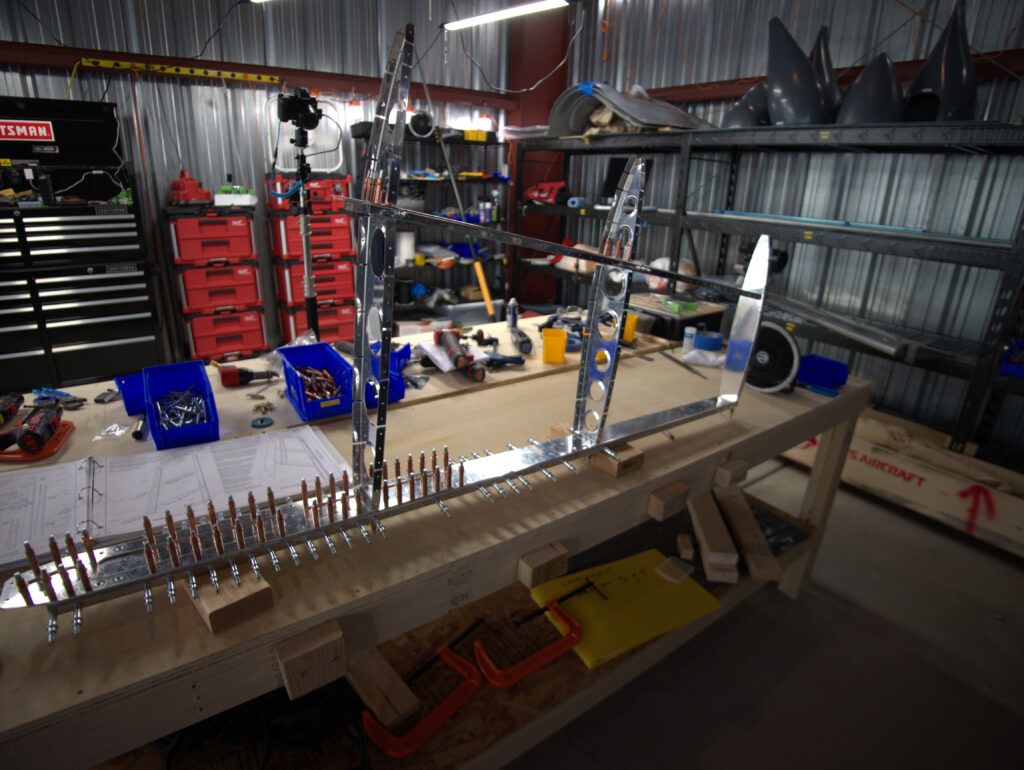
Continued work on Section 6-3, Skin on skeleton attachment. This took a lot more time than I expected. The skin (VS-1001) has to be cleco’d over the skeleton but getting it aligned is very fiddly and a bit tricky. This is done so that the holes can be final drilled with a #40 bit in preparation for riveting. I was able to get the skin fully cleco’d on the skeleton and final drilling started. Once that is done the skin will be removed, all holes deburred, and then the skin will be dimpled in prep for riveting. It is at this time that I will prime the parts before final assembly.
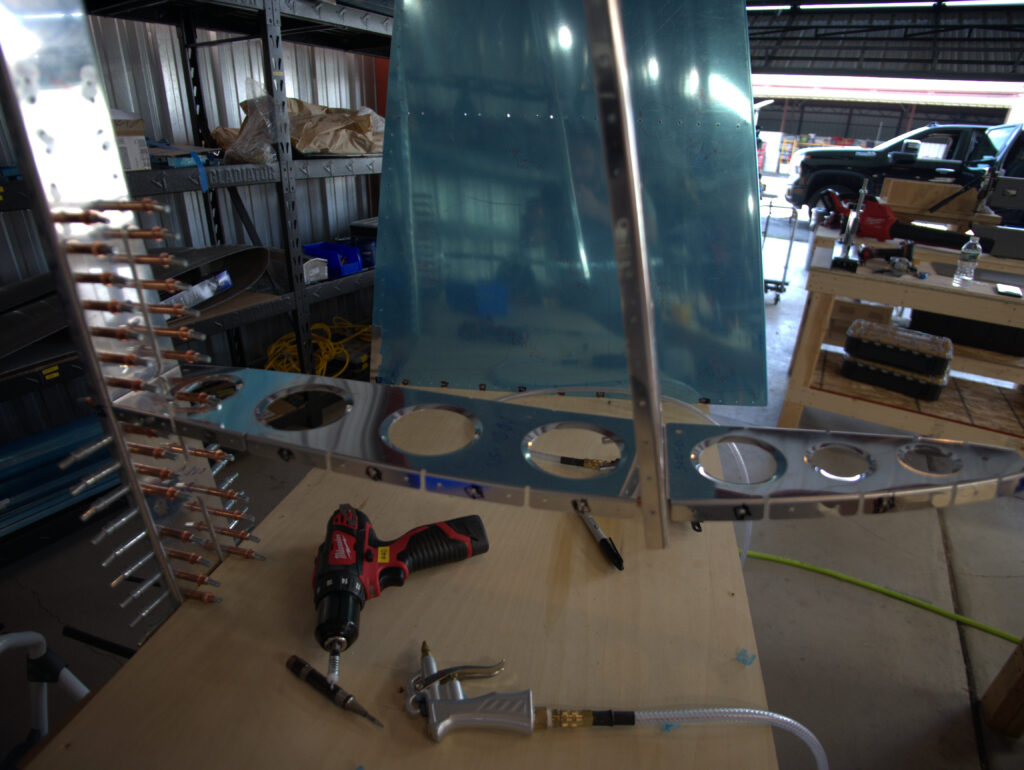
I started by clamping the skeleton to the workbench. In theory, this should have worked fine, and in the end it ultimately did but I had to us a step ladder to cleco the upper holes.
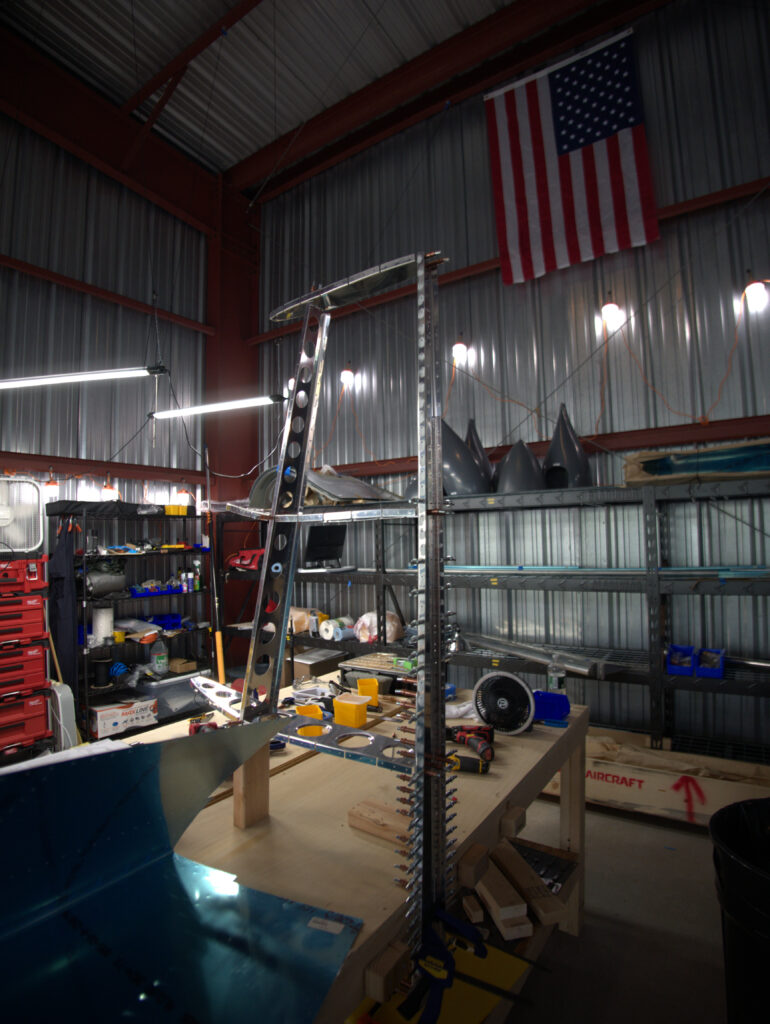
It was easy to locate the skin, part number: VS-1001. However it is a little difficult to handle, especially when trying to start the cleco task in the first few holes.
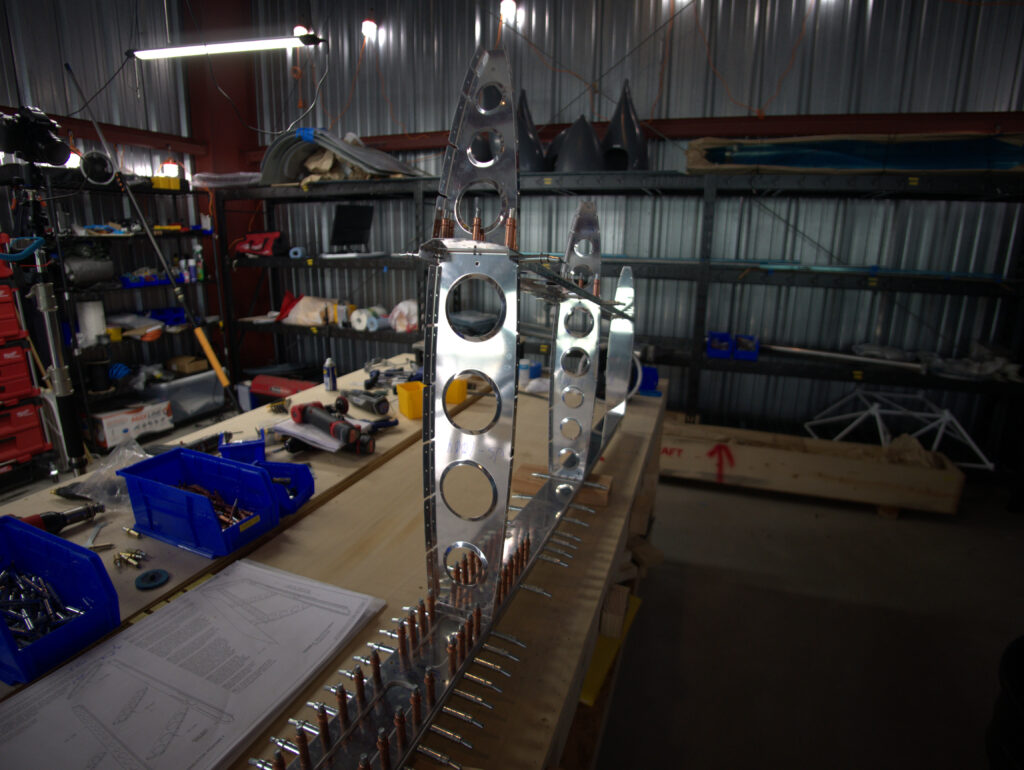
The inner skeleton becomes misaligned when the skin is attached. This is something to keep in mind and It might make sense to remove the bottom part VS-1013 when reattaching the skin after the holes are deburred and the skin is dimpled.
I finally got the skin on and started final drilling with a #40 drill. Once I finish the drilling, I will need to remove the skin, debur all of the holes and then dimple the skin in preparation for riveting. I will add a step before I reattach the skin and that will be to prime the parts.
Time on today’s activity: 4hrs
Total time on Section 6/Vertical Stabilizer to date: 20.75 hours
Continue Work on Vertical Stabilizer
Countersinking, Assembly of skeleton
Most of the drilling and deburring work is complete. Final steps were to machine counter sink the #30 holes below the connect holes on VS-1008. Since this was the first time that I have done any machine countersinking, I did quite a bit of practicing.
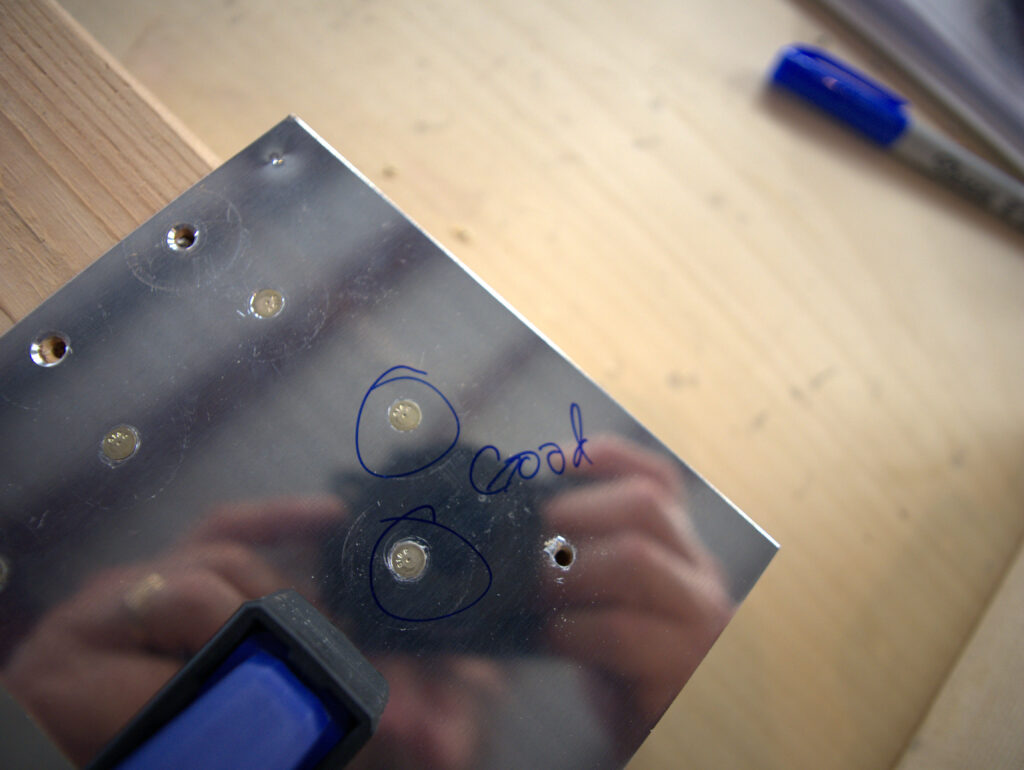
Then I performed the machine countersinking on the VS-1008 and I am pleased with the results. I tested each countersink with by dropping a rivet in the hole to test if it was flush. I did the same process with the four #19 holes that are for the rudder hinge bracket. The #19 holes are for screws. I did not have a #19 countersink cutter but I matched up a #6 Countersink Cutter and it worked very well.
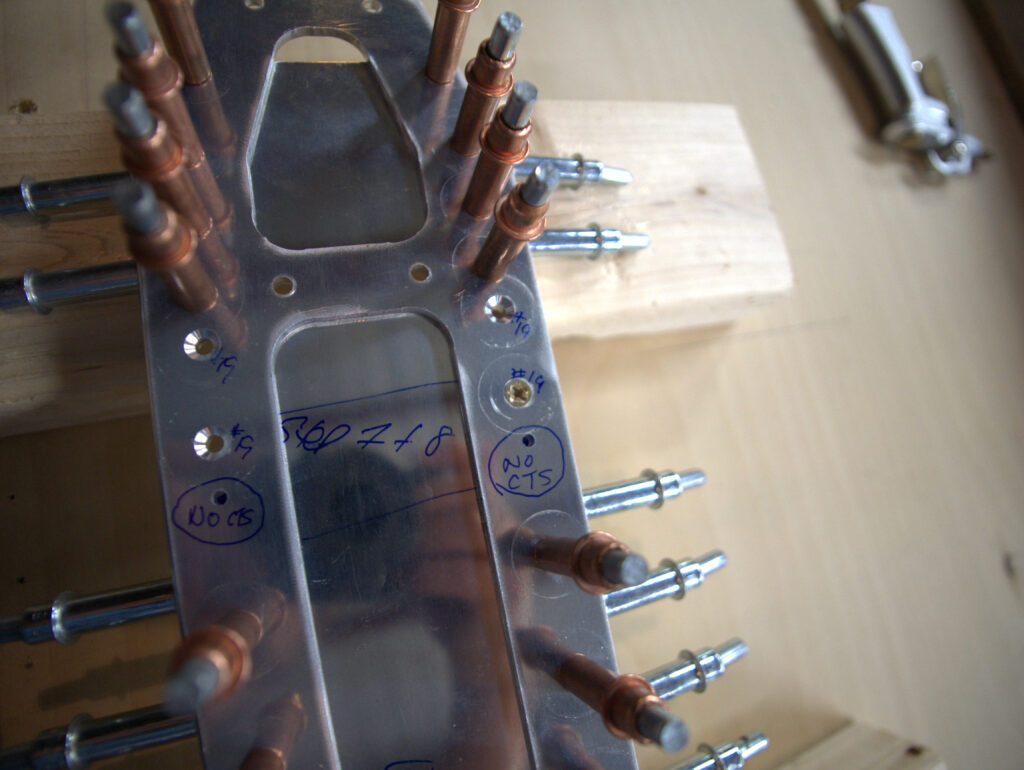
There is only one task left to do on this page and that is because I had to order a new part that I don’t think that I received with my shipment. I am unable to find VS-1017, nor did I record that I received it in my inventory process. Note to anyone reading this blog post, I cannot understate the importance doing a proper and robust inventory. Not only counting and verifying the parts but also recording the location at where they are stored.
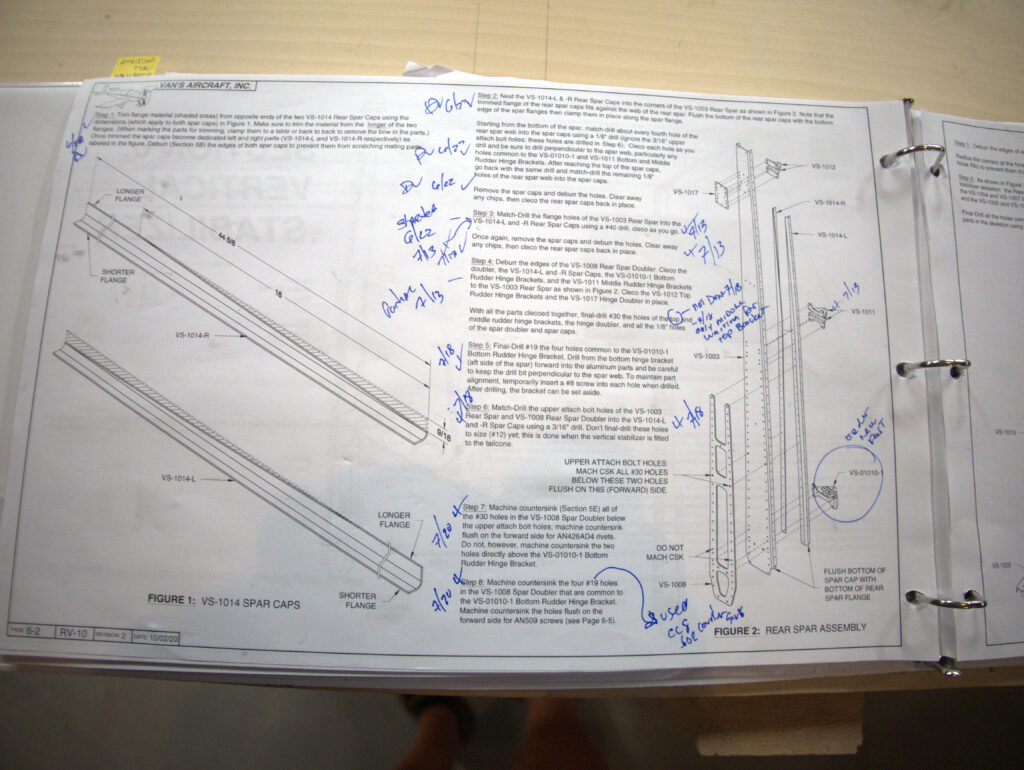
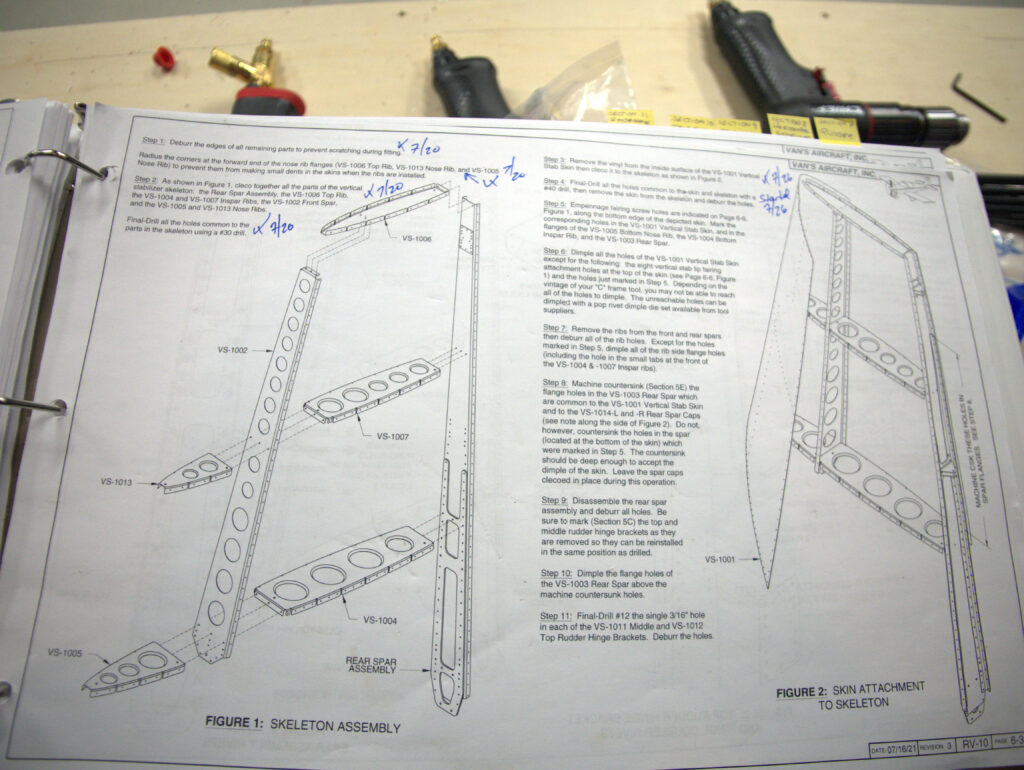
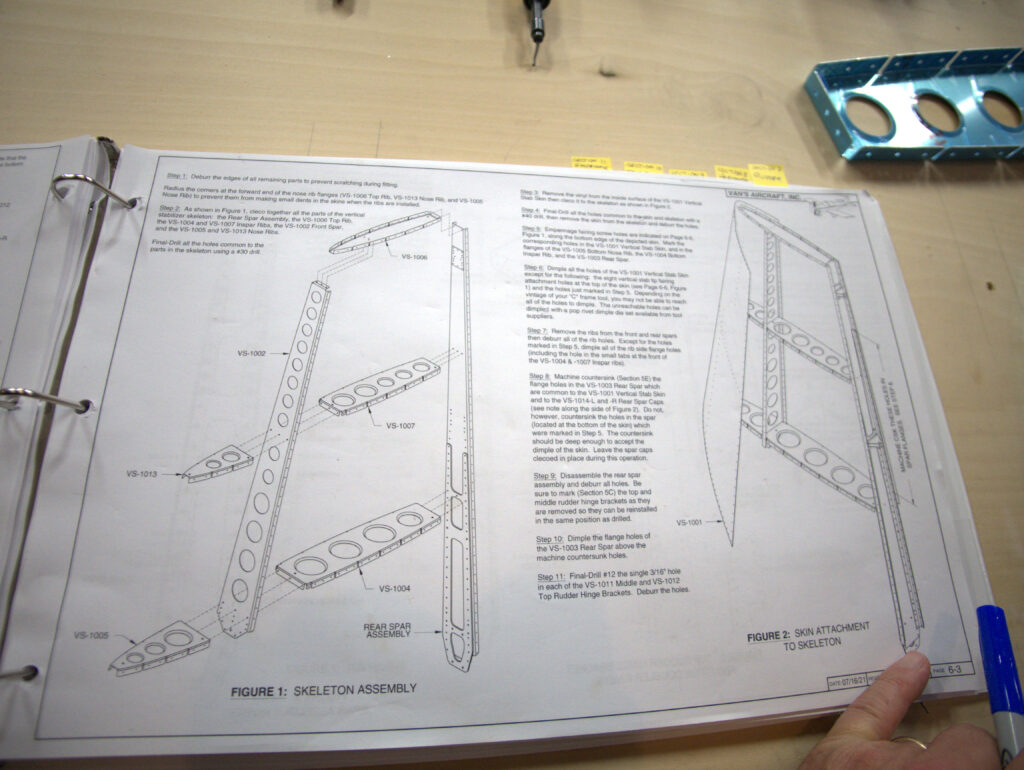
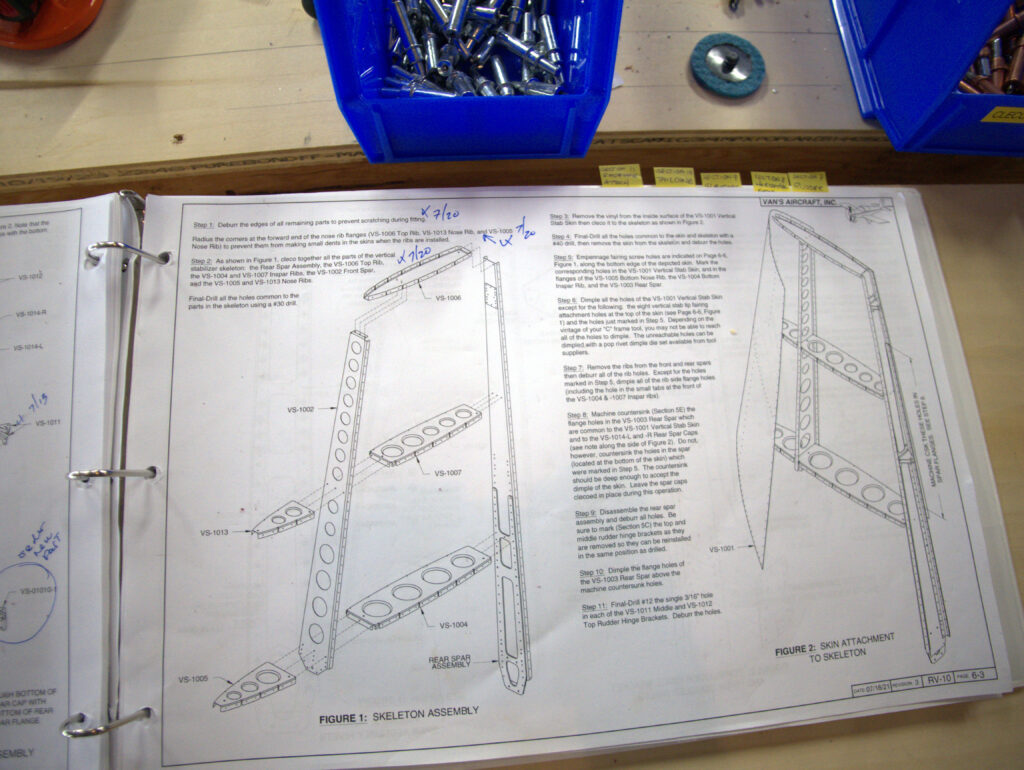
With most of the work complete on the rear spar, I moved onto the next page, 6-3 that focuses mostly on the assembly of the vertical stabilizer skeleton. Again about doing a proper inventory. I kept a spreadsheet with all of the parts and the shelve location that I stored them. I received these parts in October of 2023 and it only took me 5 min to pull these parts using my spreadsheet.
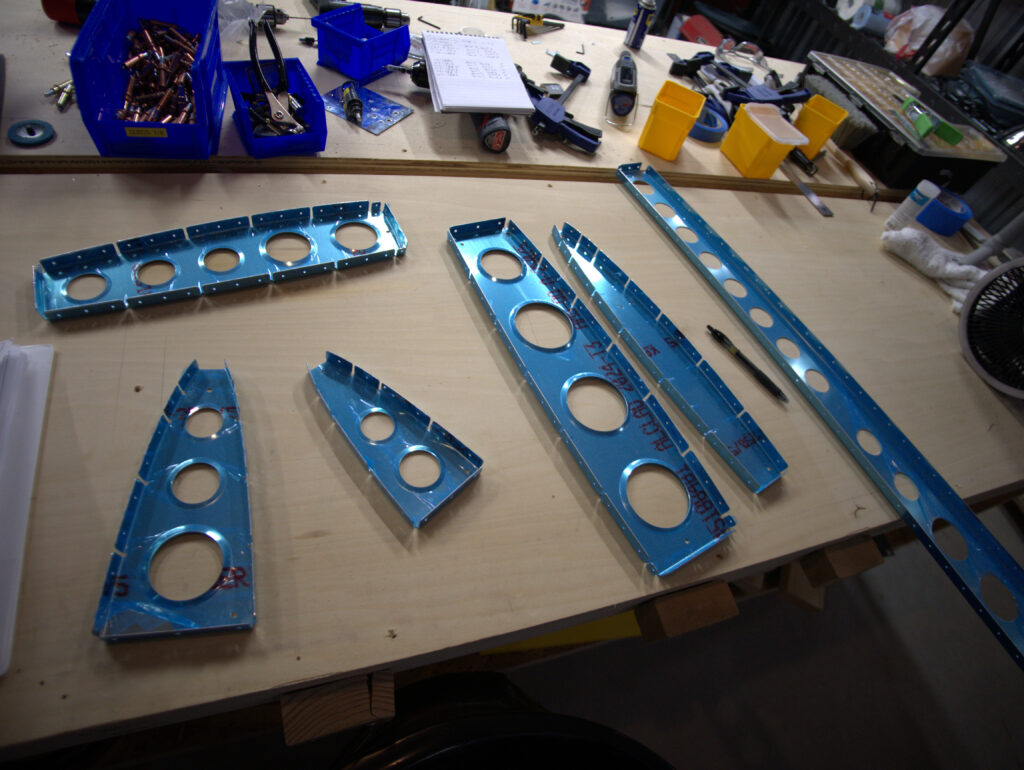
The work on this page was pretty straightforward. I had to deburr all of the edges as to not scratch during fitting, I had to radius the corners of VS-1005 and VS-1013. Once this was complete, I assembled and cleco’d according to the instructions
- Log of build time for 20 July 2025: 5 hours
- Log of build time for the Vertical Stabilizer: 13.72
- Section 6, 6-2 and 6-3
- Next tasks, final drilling of connecting holes.